
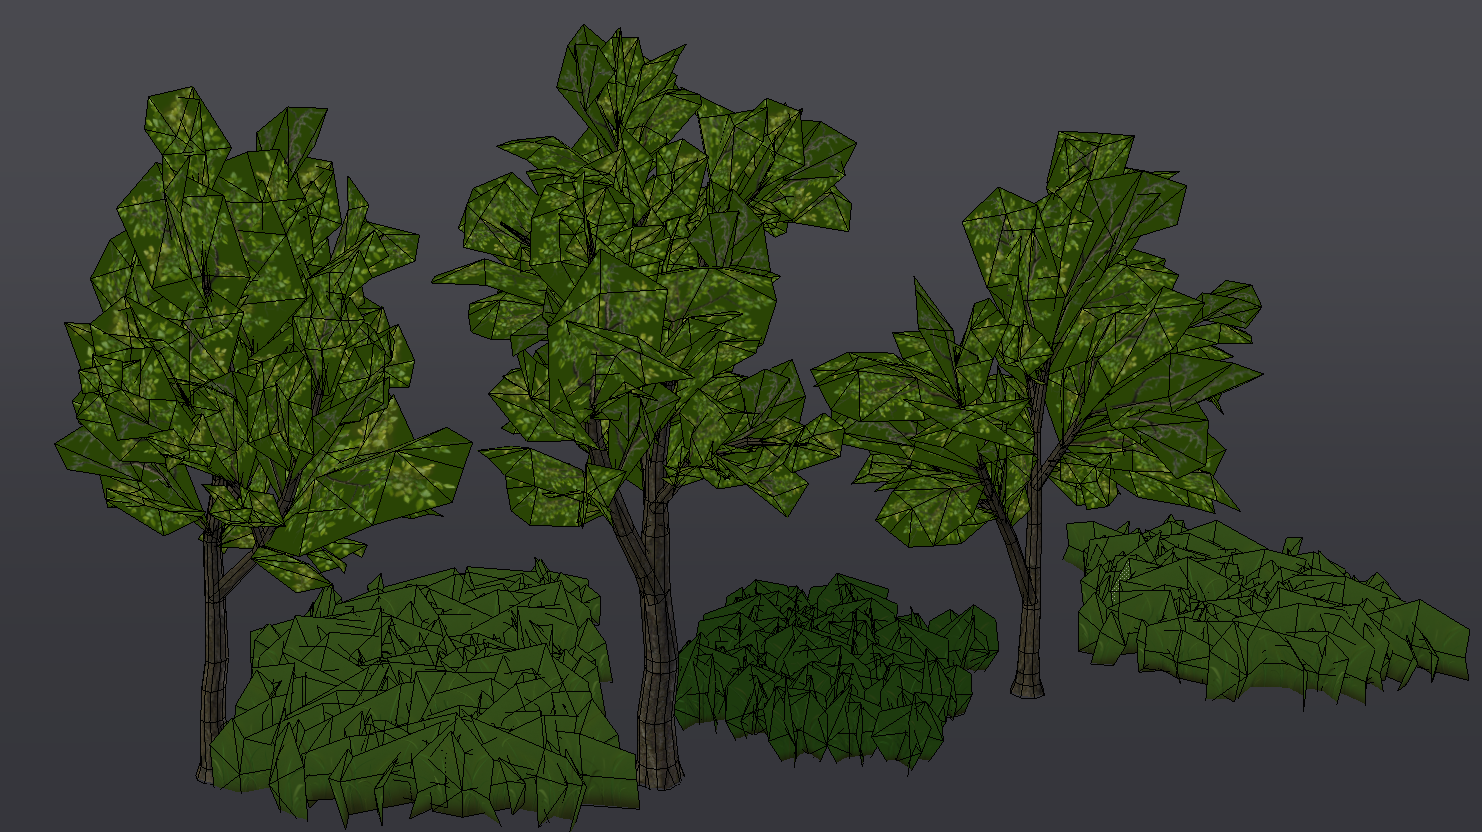
| Post Info | TOPIC: Blender Practice | ||||||||
|---|---|---|---|---|---|---|---|---|---|
|
calculating Pi by hand

|
|
||||||||
|
calculating Pi by hand
|
|
||||||||
|
Feedback-Master ..

|
|
||||||||
|
Feedback-Master ..
|
|
||||||||
|
calculating Pi by hand
|
|
||||||||
|
calculating Pi by hand
|
|
||||||||
|
Level Designer

|
|
||||||||
|
Checkmate mate.
|
|
||||||||
|
Feedback-Master ..
|
|
||||||||
|
calculating Pi by hand
|
|
||||||||
|
Connoisseur of Bourbon!

|
|
||||||||
|
Feedback-Master ..
|
|
||||||||
|
...ǝp¡s ɹǝɥʇo ǝɥʇ uo
|
|
||||||||
|
Connoisseur of Bourbon!
|
|
||||||||
|
Feedback-Master ..
|
|
||||||||
|
calculating Pi by hand
|
|
||||||||
|
Feedback-Master ..
|
|
||||||||
|
Amateur UT mapper

|
|
||||||||
|
Feedback-Master ..
|
|
||||||||
|
...ǝp¡s ɹǝɥʇo ǝɥʇ uo
|
|
||||||||
|
Amateur UT mapper
|
|
||||||||
|
calculating Pi by hand
|
|
||||||||
|
Feedback-Master ..
|
|
||||||||
|
calculating Pi by hand
|
|
||||||||
|
calculating Pi by hand
|
|
||||||||
|
Connoisseur of Bourbon!
|
|
||||||||
|
calculating Pi by hand
|
|
||||||||
|
Amateur UT mapper
|
|
||||||||
|
Feedback-Master ..
|
|
||||||||
|
Feedback-Master ..
|
|
||||||||
|
Amateur UT mapper
|
|
||||||||
|
Amateur UT mapper
|
|
||||||||
|
Feedback-Master ..
|
|
||||||||
|
Amateur UT mapper
|
|
||||||||
|
...

|
|
||||||||
|
Feedback-Master ..
|
|
||||||||
|
Amateur UT mapper
|
|
||||||||
|
Feedback-Master ..
|
|
||||||||
|
calculating Pi by hand
|
|
||||||||
|
Feedback-Master ..
|
|
||||||||
|
calculating Pi by hand
|
|
||||||||
|
Connoisseur of Bourbon!
|
|
||||||||
|
...
|
|
||||||||
|
calculating Pi by hand
|
|
||||||||
|
Feedback-Master ..
|
|
||||||||
|
Feedback-Master ..
|
|
||||||||
|
Amateur UT mapper
|
|
||||||||
|
calculating Pi by hand
|
|
||||||||
|
calculating Pi by hand
|
|
||||||||
|
Feedback-Master ..
|
|
||||||||
|
|||||||||


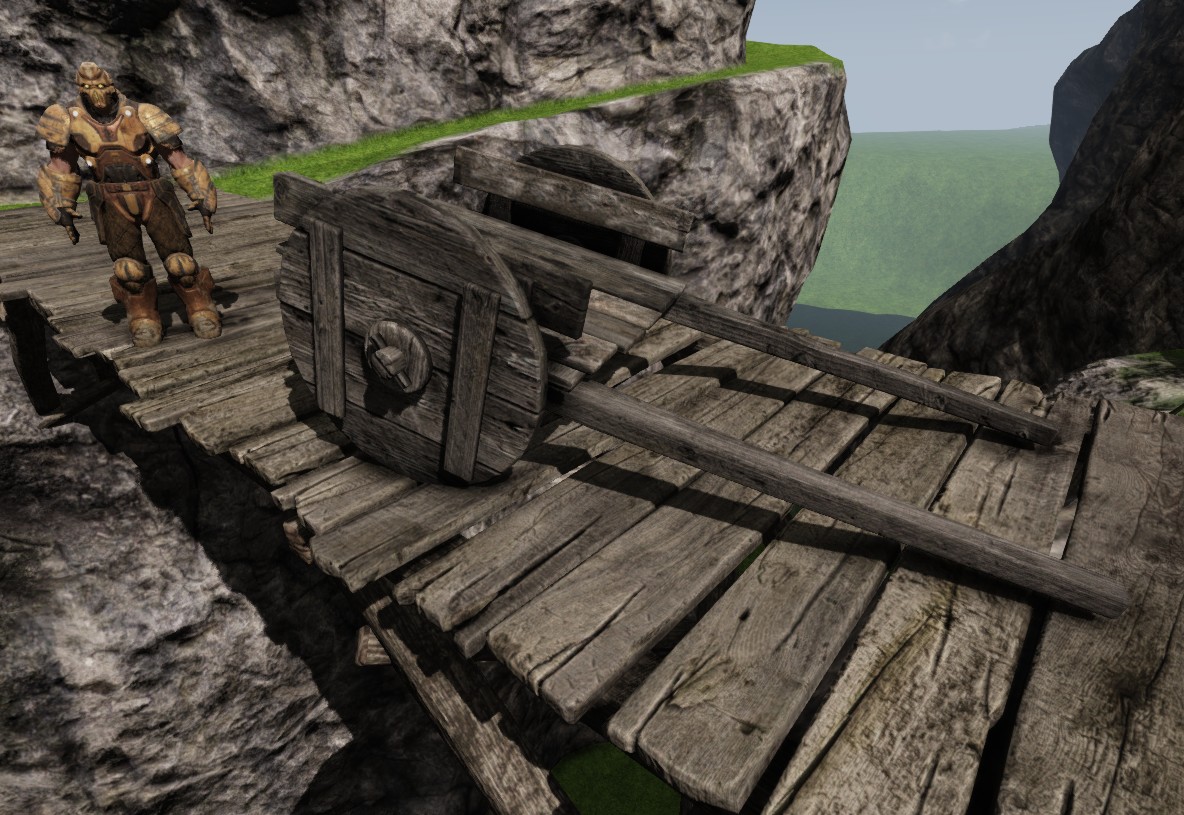
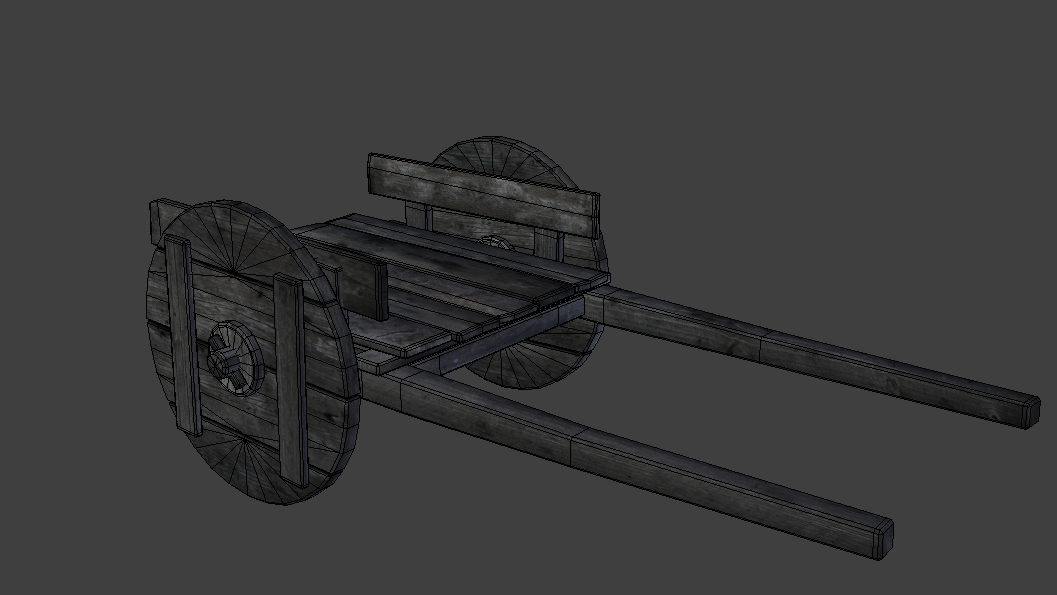
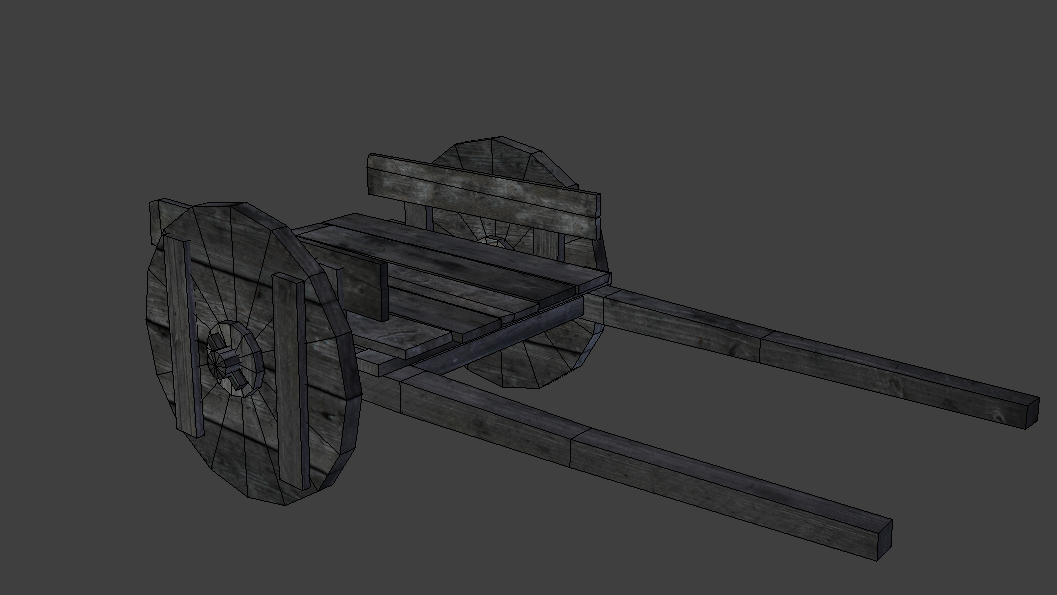
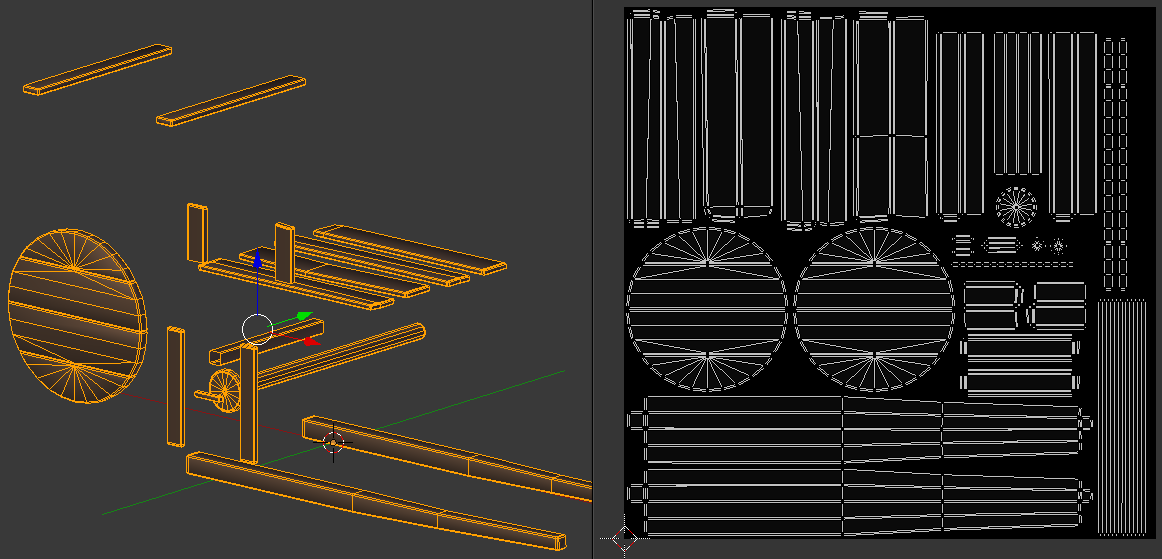
 using my secret weapon...
 never done a hight to low model before, so I guess you've got me under the hammer on this one.


|
|
||
